|
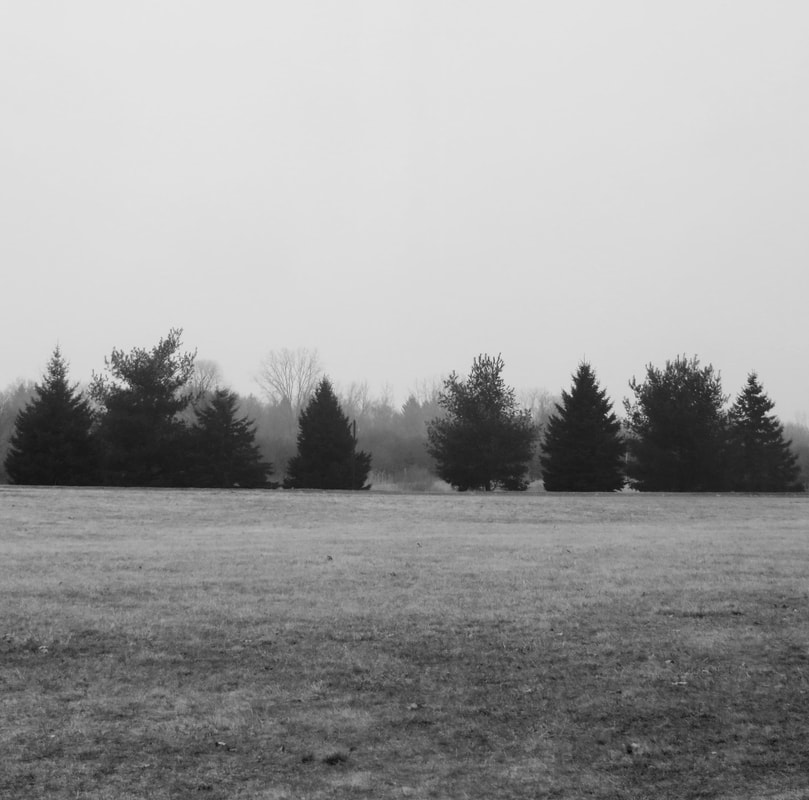
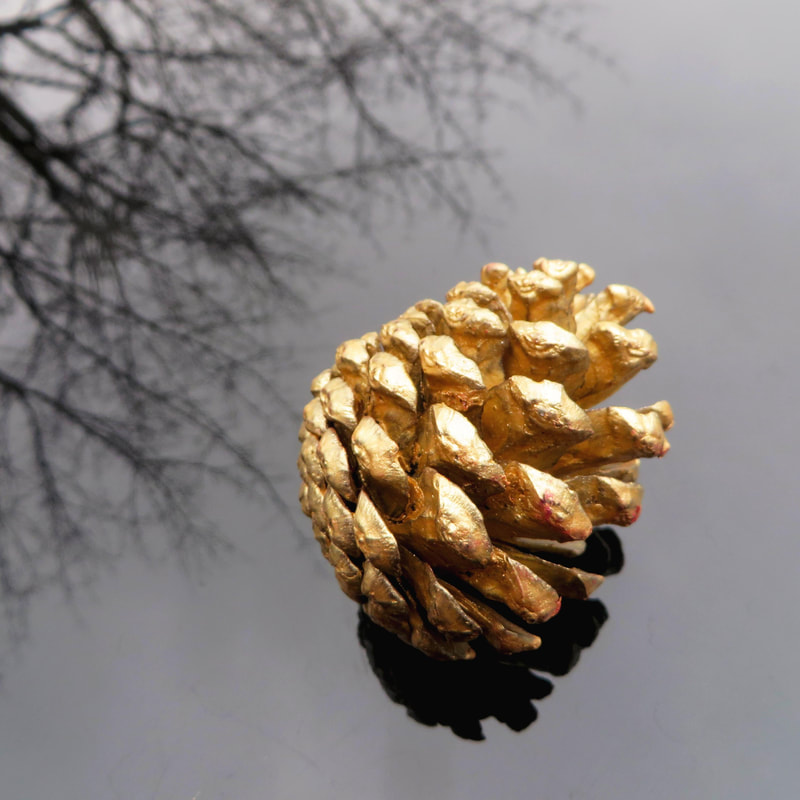
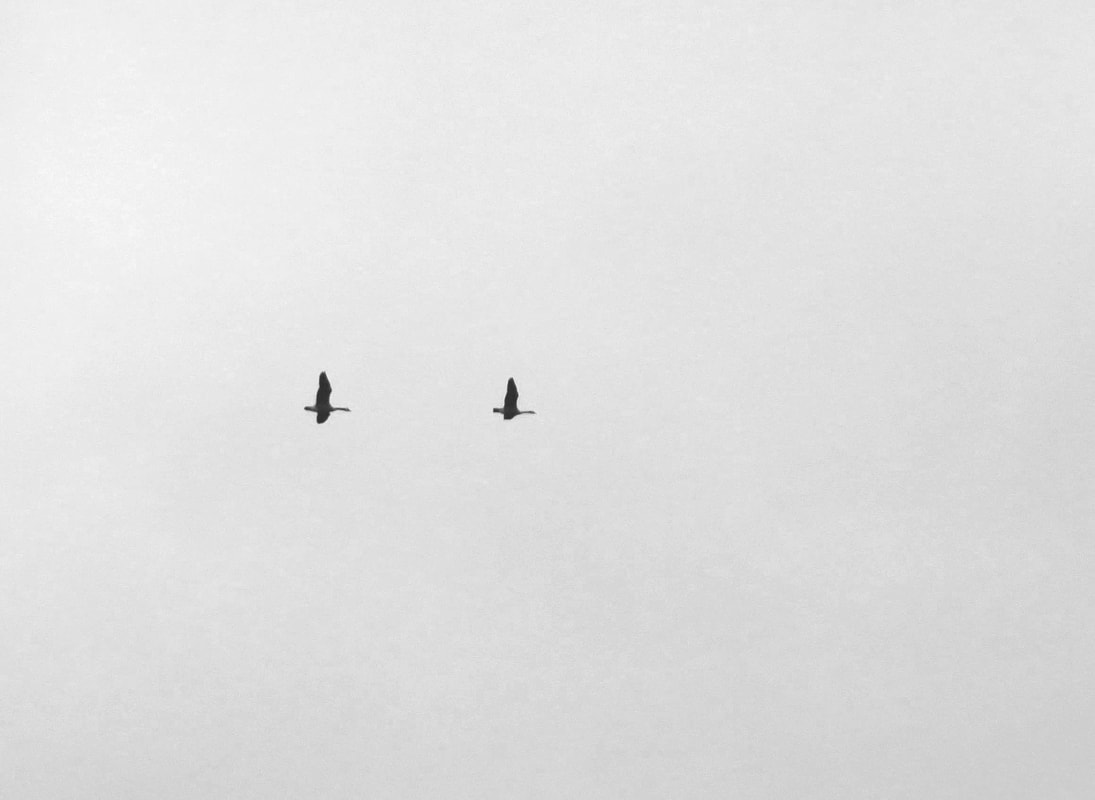
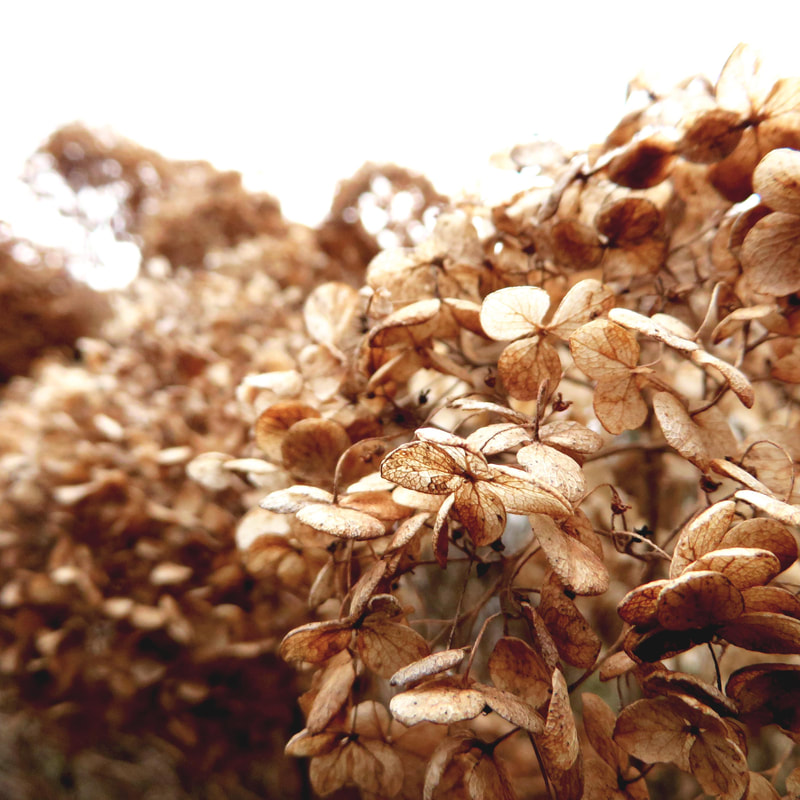
Here are some photos I shot this past week around my house and backyard for the #StayHomeStaySafe project (because we are in quarantine). 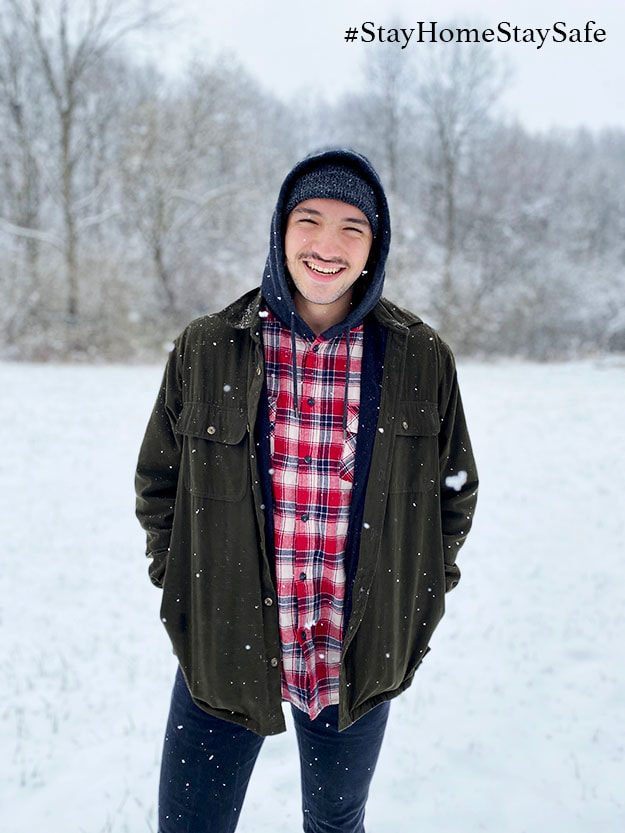 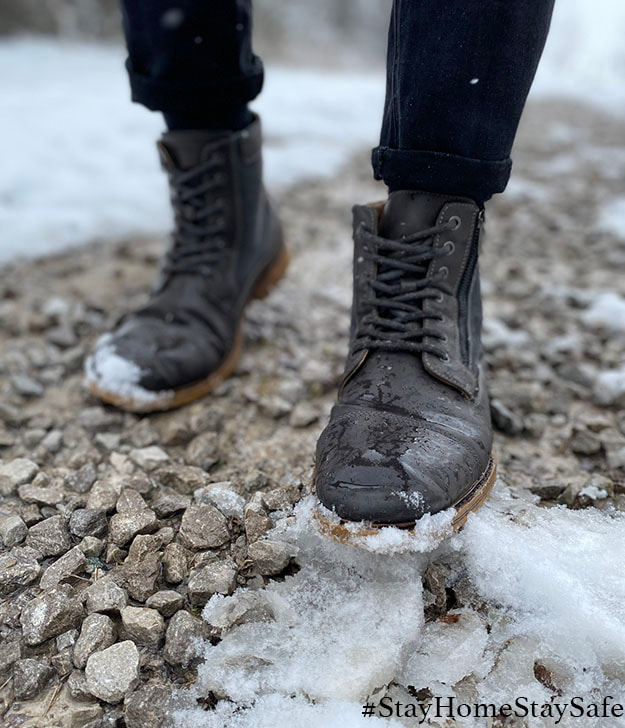 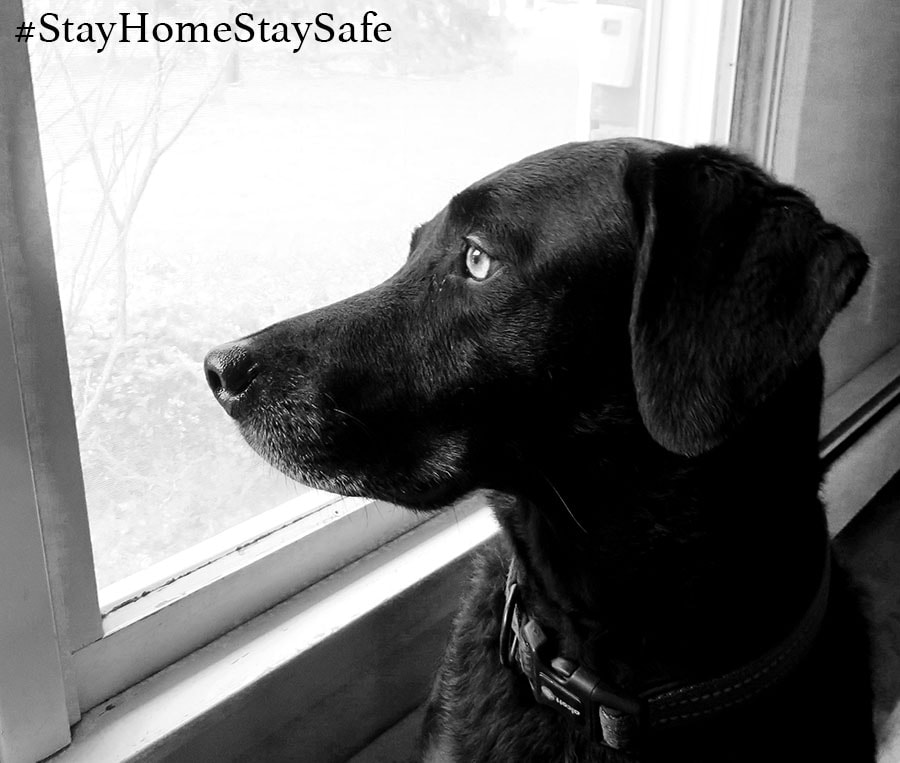 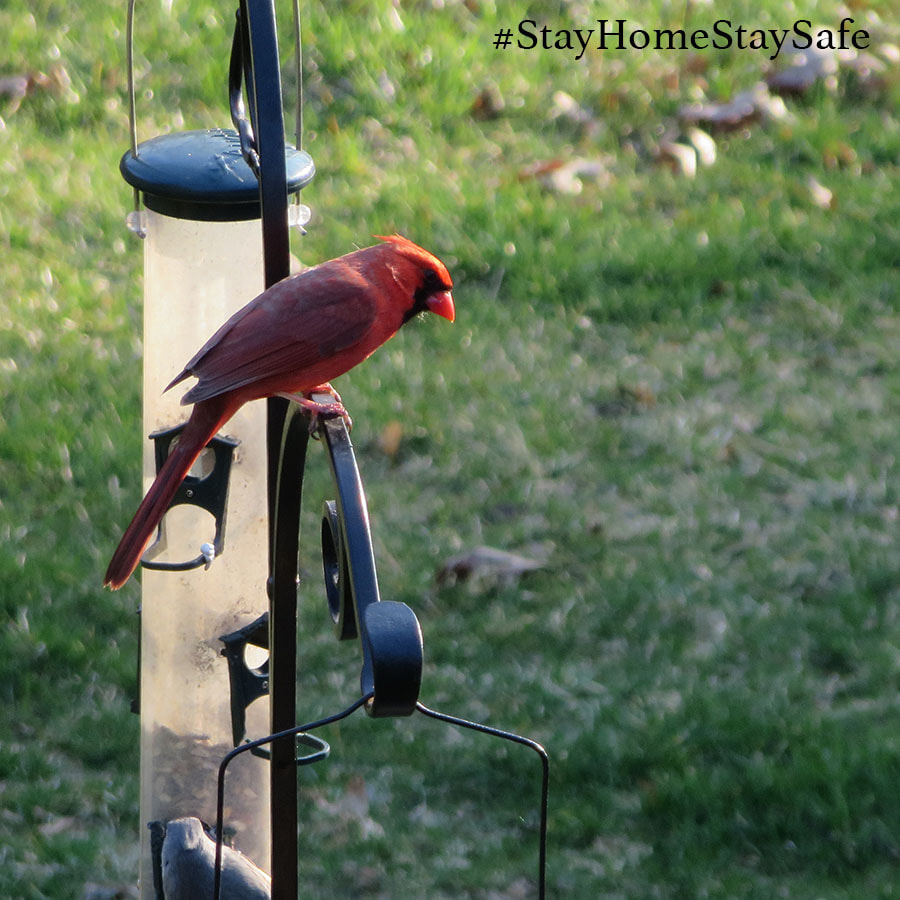 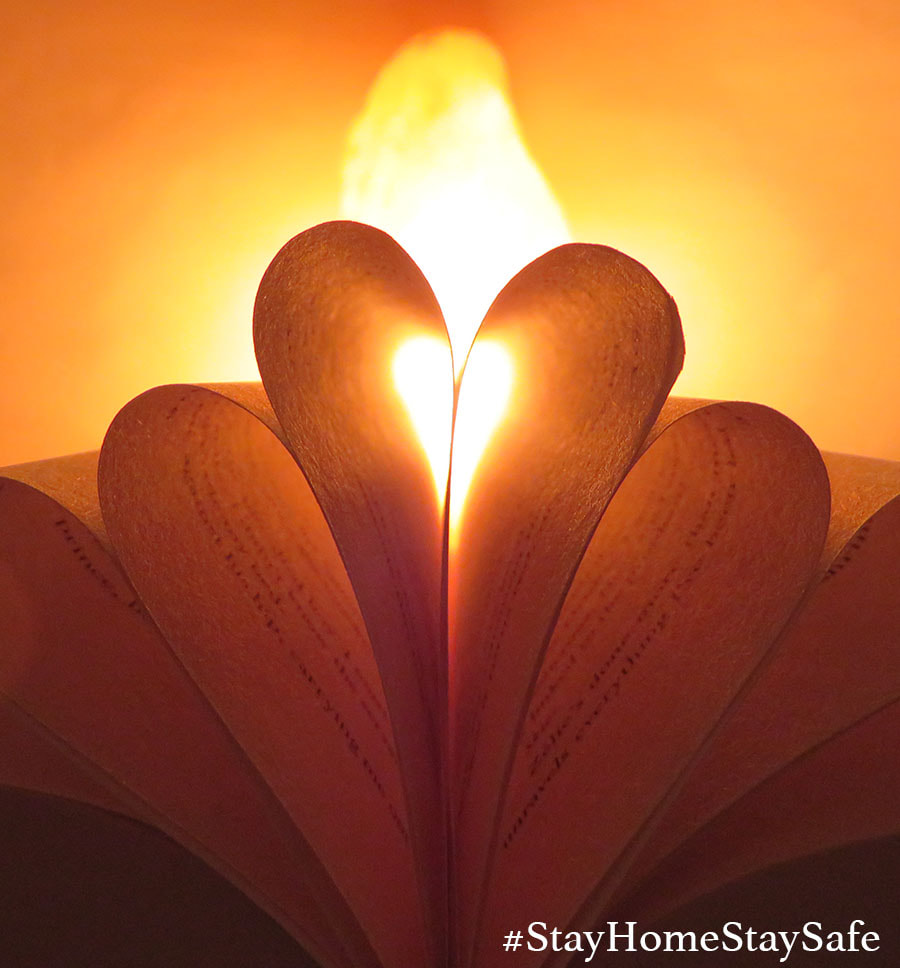 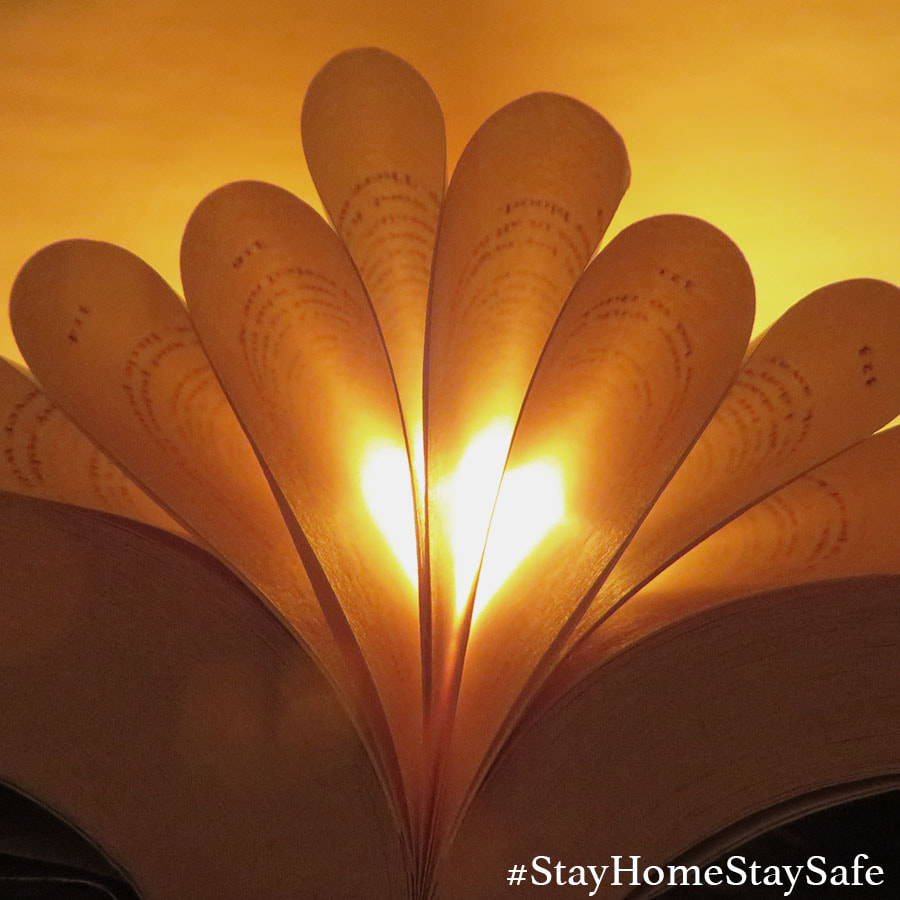
0 Comments
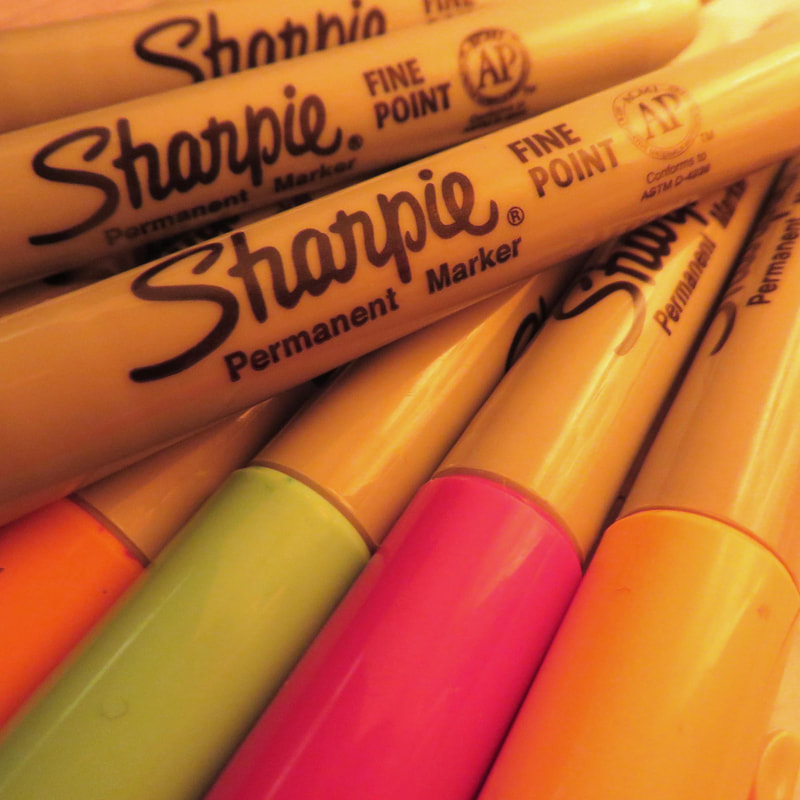
Using the drawing tool on Snapchat, I changed the context of a photo I took of a dog, named Captain Frosty, sitting on a couch. I turned Captain into a real captain by giving him a sailor's hat and making it look like he was riding on a raft down some rapids. ** A side note ** I used iPhone's "markup" feature to make the hat, as snapchat did not have the tools (like the highlighter feature) that I wanted. 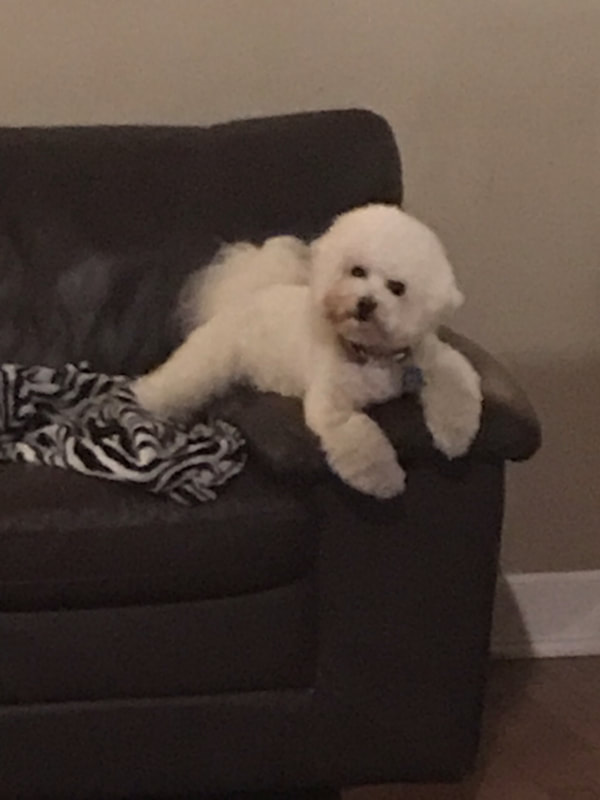 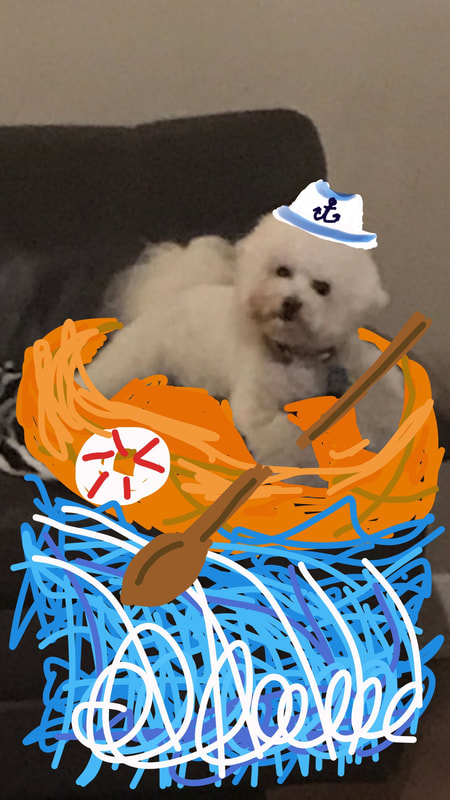 We were assigned to take photos with an emphasis on color; wether that be a focus on one color to make it stand out, a difference or contrast in colors, a theme of colors (neon, pastel, neutrals, etc.), or black and white with a pop of color. I took pictures of my orchids that are blooming, since their vibrant pink hues stand out against the white petals and green foliage. Because my camera was having troubles, I chose to take photos with my phone and edited them on the app Lightroom. 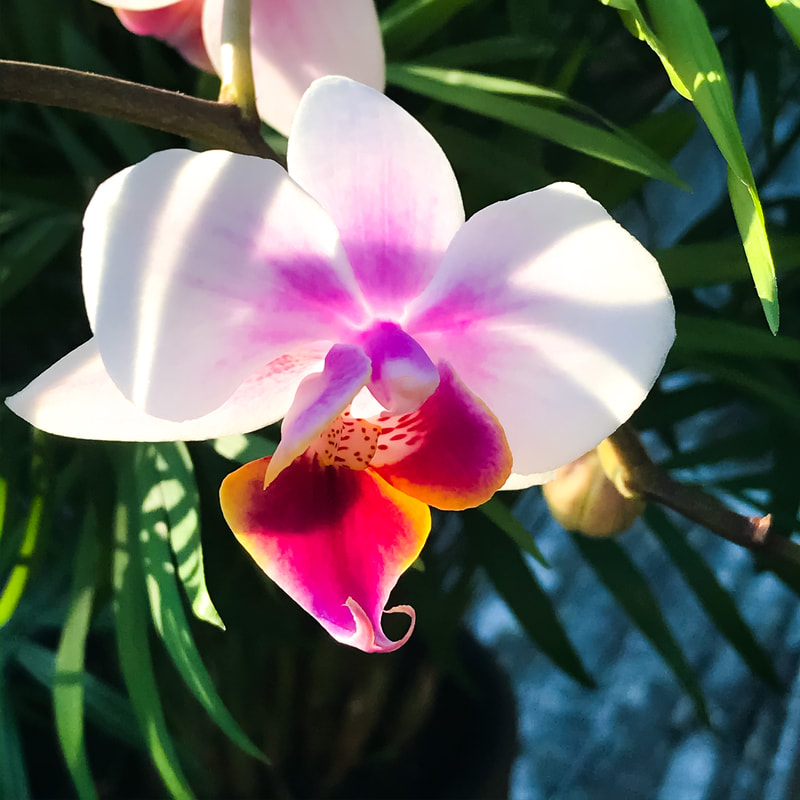 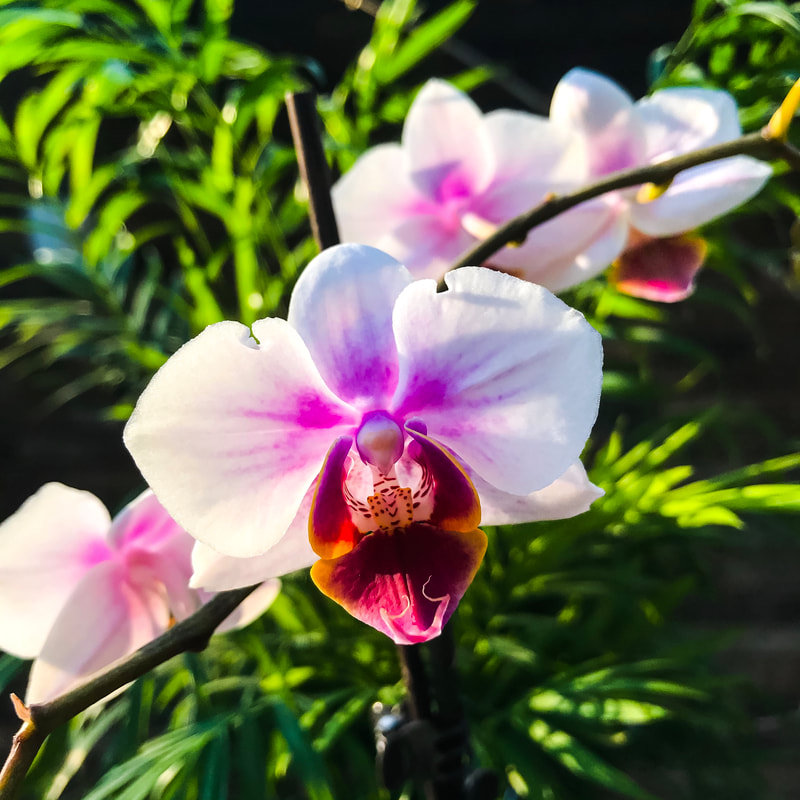 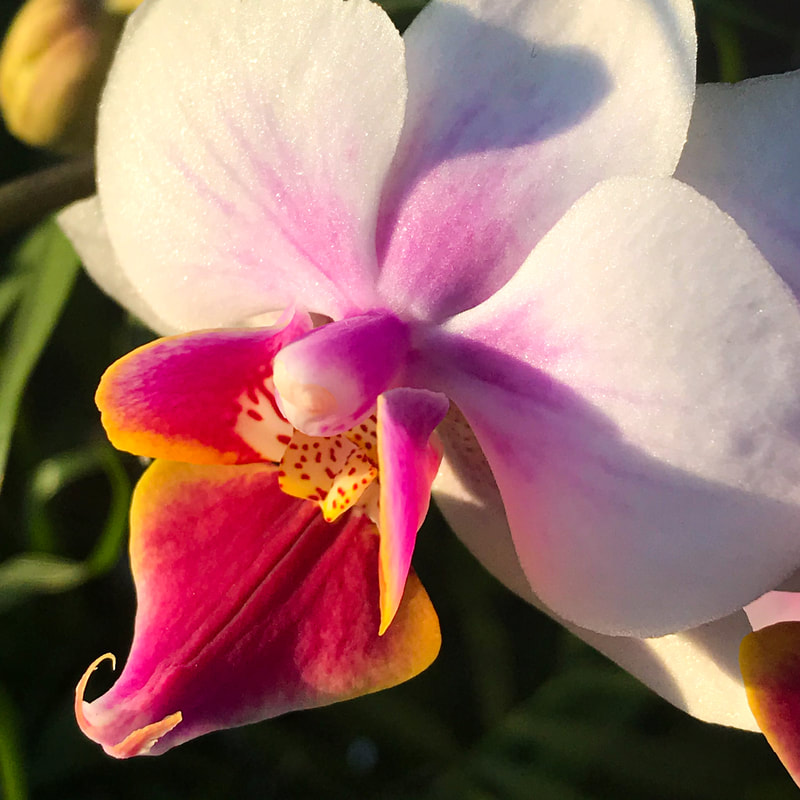 ASSIGNMENT DEFINITION: Our main goal was to take photos that demonstrate the principles of design. This could be capturing movement, balance, contrast, or even just following the "Rule of Thirds." Following these principles greatly enhances the overall composition of a shot. Below are some of the shots I took that provide examples of these principles.
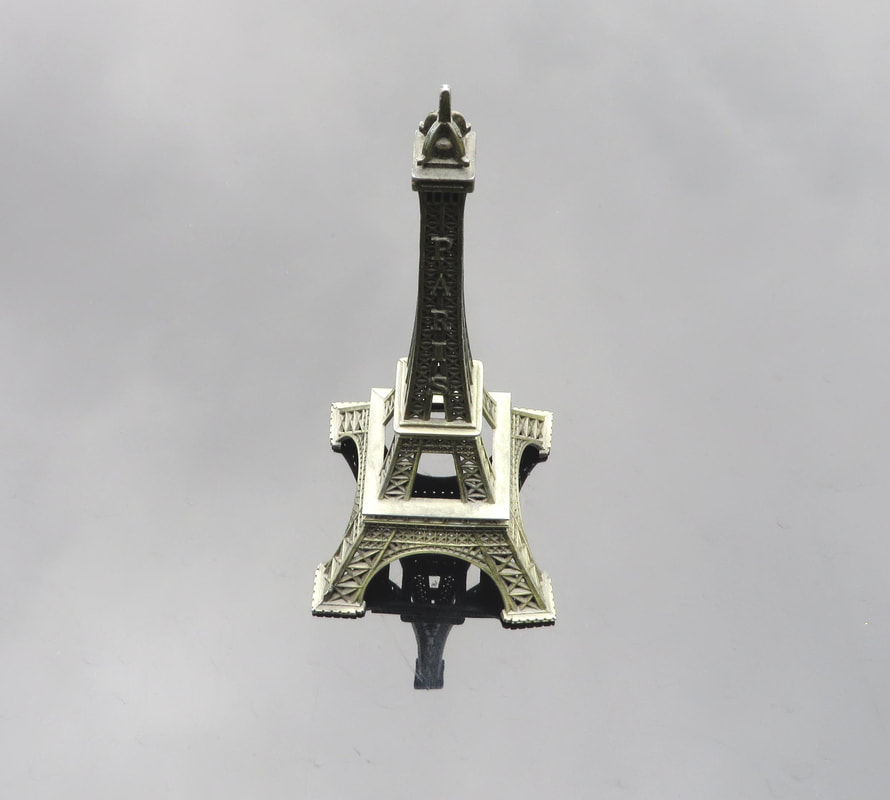
UNITY: Relationship between parts and whole composition
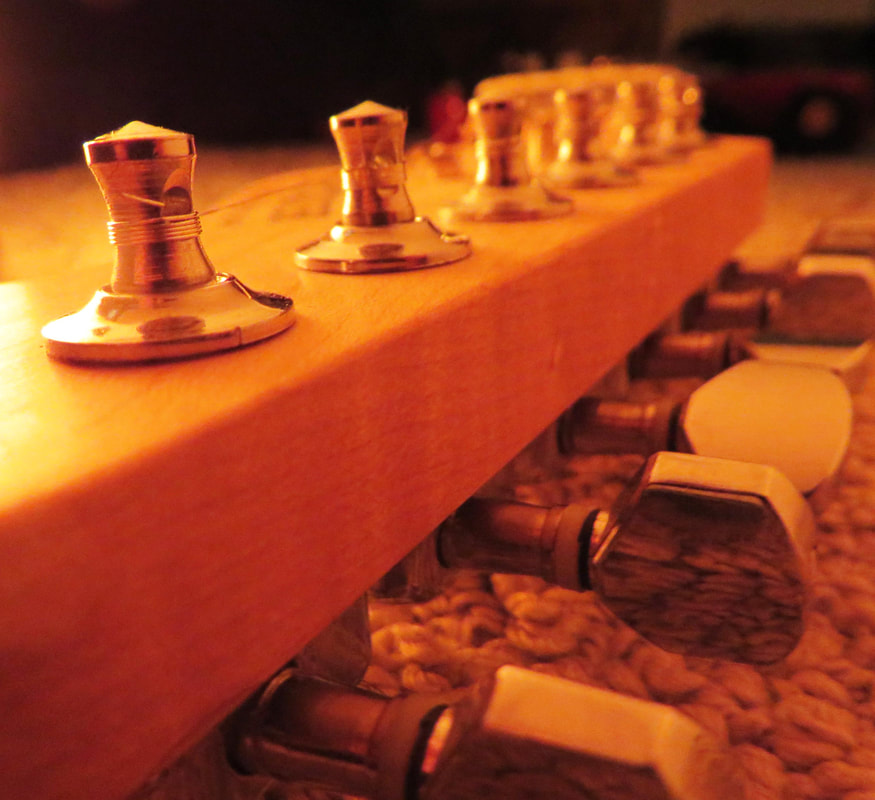
SUMMARY: In total, this project was a good review of what makes a picture appealing, and good practice for me to find just the right angles and camera settings. I explored with different lightings and locations - using natural daylight on an overcast/hazy day and later in my room at night, a yellow/pink salt rock lamp and a white reflector to bounce light back onto the subject. I also reviewed photoshop and its ability to make adjustments to the exposure, contrast, and even some other edits like turning a photo black and white.
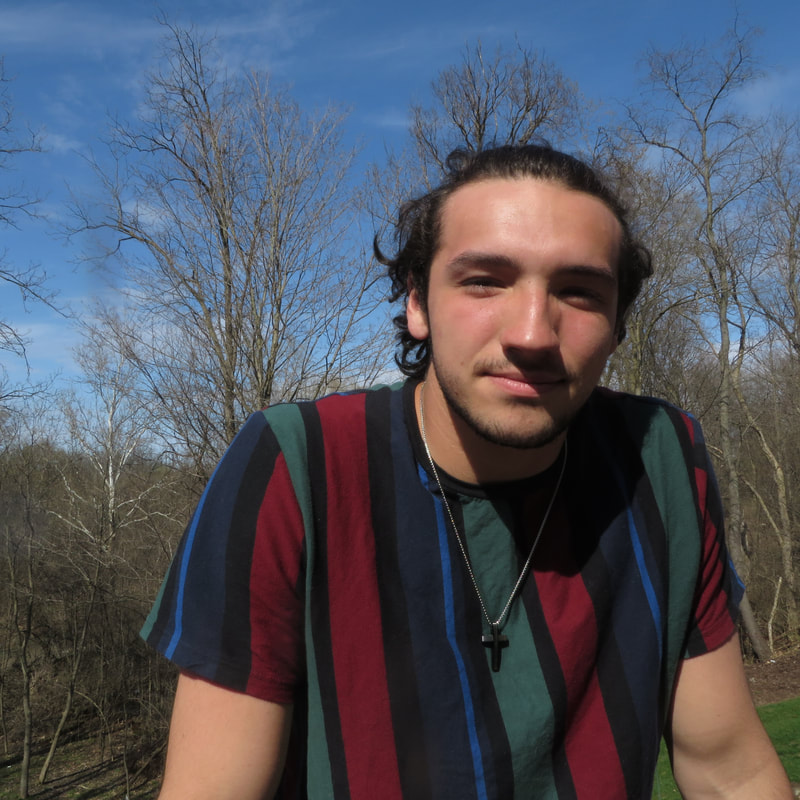
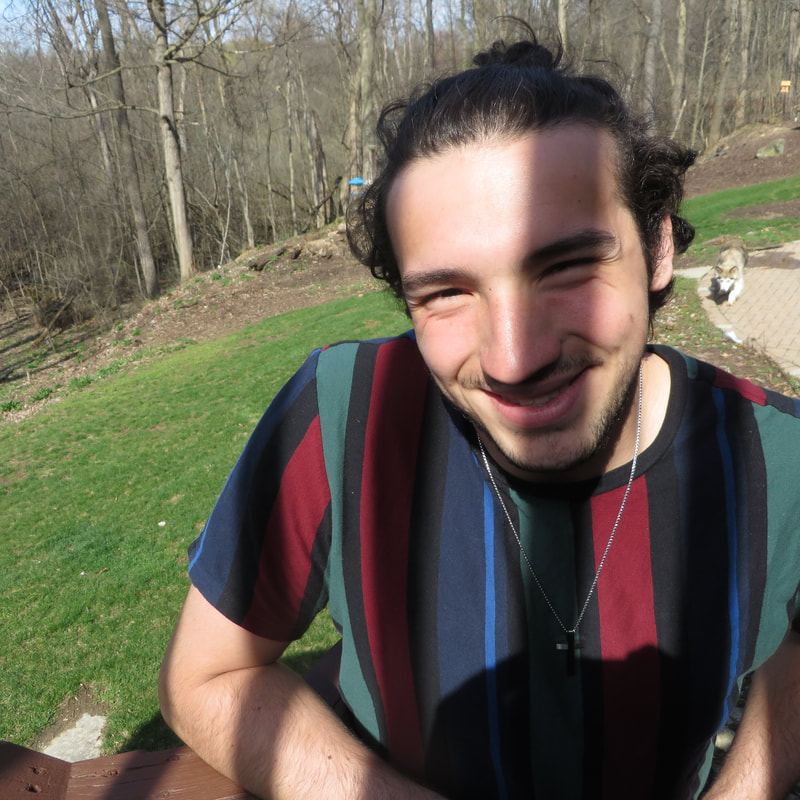
Welcome back! I am now taking Digital Photography 2 and everything I post from here will be for that class! 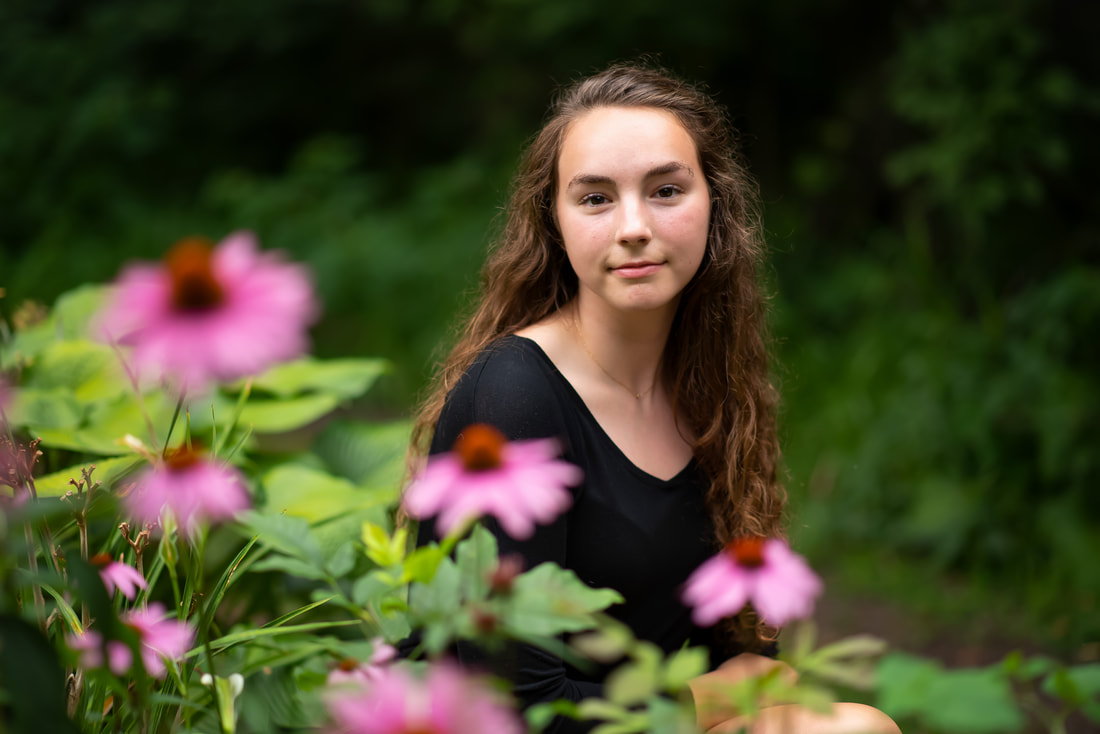 When I first started this class almost three months ago, I was not sure how to even change the settings on my camera. Aperture, shutter speed, and ISO were mysteries to me. How they worked together... I was even more clueless. In my first shooting assignment, I chose people. I had real trouble getting the exposure on my brother's face right, and did not know what to do about the shadows on his face (turns out I should not have had his face directly in the low sun). Likewise I didn't exactly know how to change the settings as to lessen the harshness of the light. My first few photos were as such:
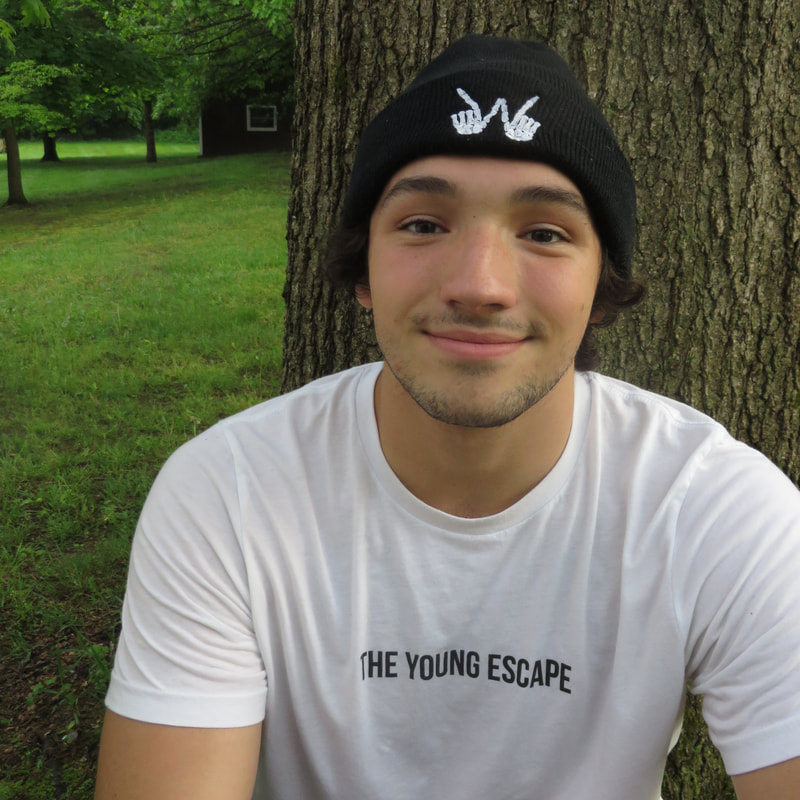
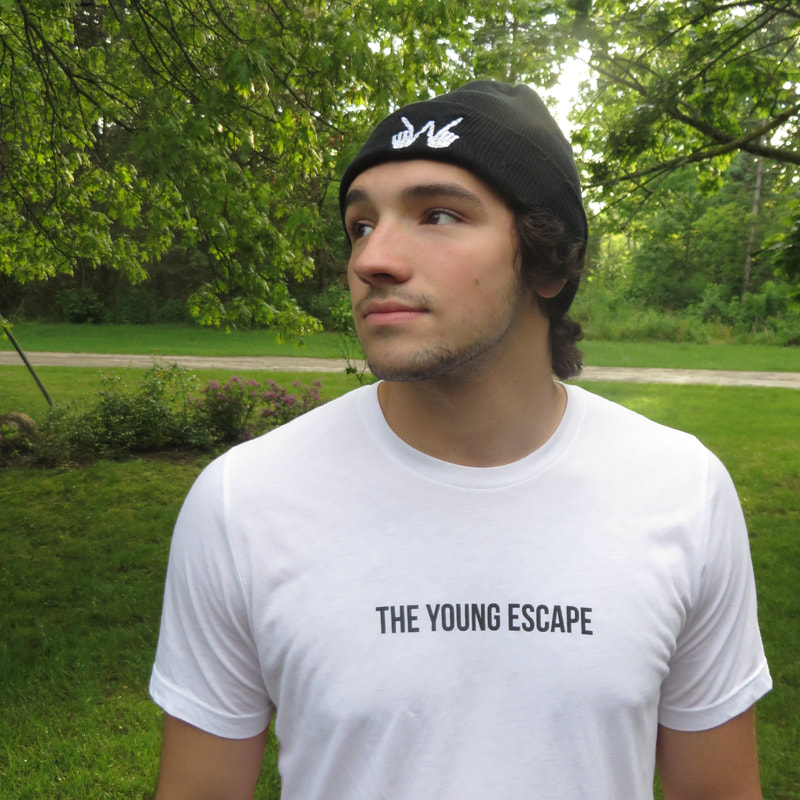
So, as you can see the shadows and angles are not ideal at all. However, just a week ago I chose to take some pictures of him again. You can see I have a firm grasp on light exposure settings now and the best light to shoot in....
Likewise, when it comes to photoshop, the first day I tried to use it I had no idea how to even change the contrast, levels, saturation etc. Being some of the most basic actions, I never knew I would be able to quickly merge multiple photos together, learn how to erase whole entire elements from the photo with the clone stamp tool, and create cool double exposure images.
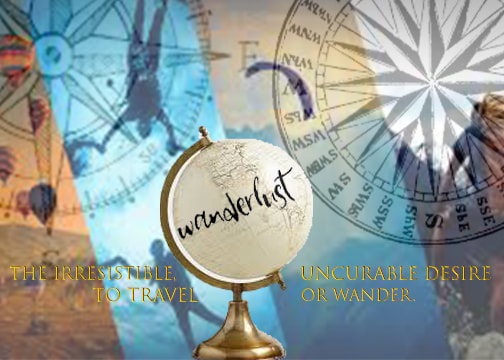
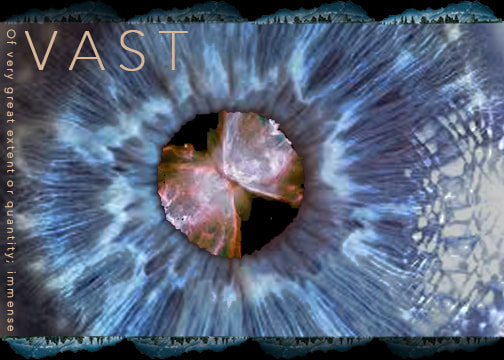
Using my cumulated photoshop skills throughout the trimester I was assigned to create puns through images and added context to a word's definition by adding pictures behind. Visual Puns: 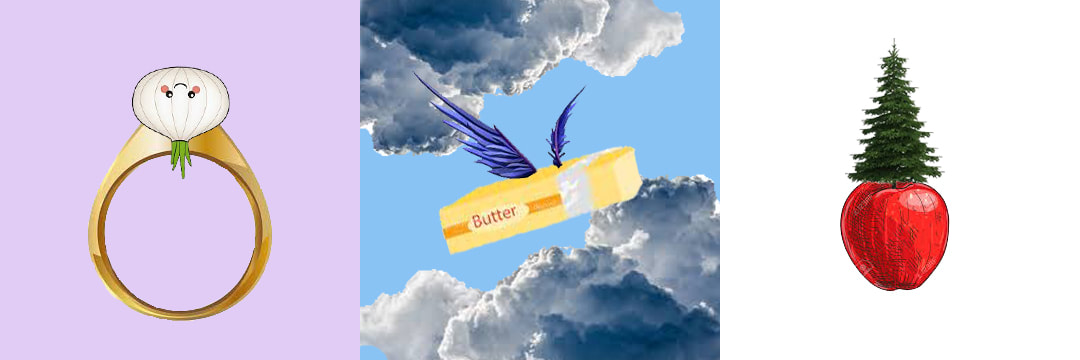 ------ Onion Ring --------------------- Butterfly --------------------- Pineapple ------ Visual Dictionary:
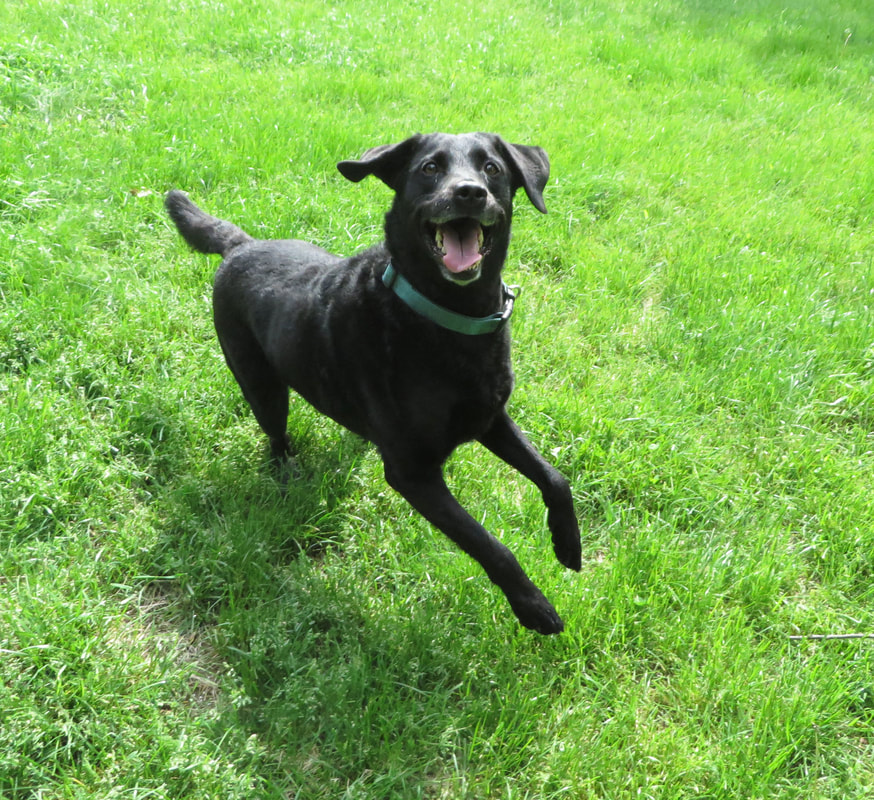
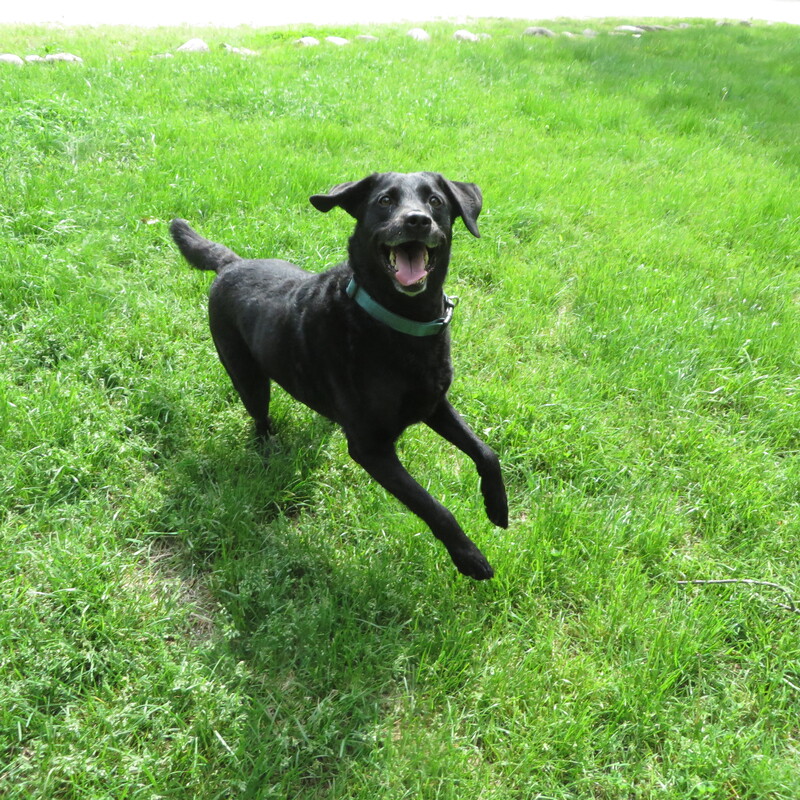
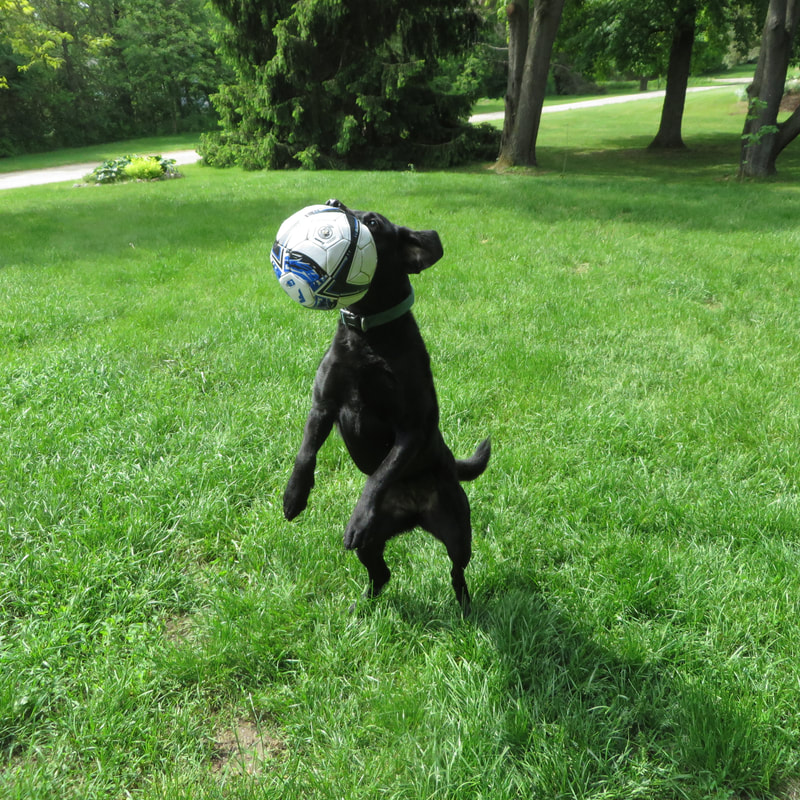
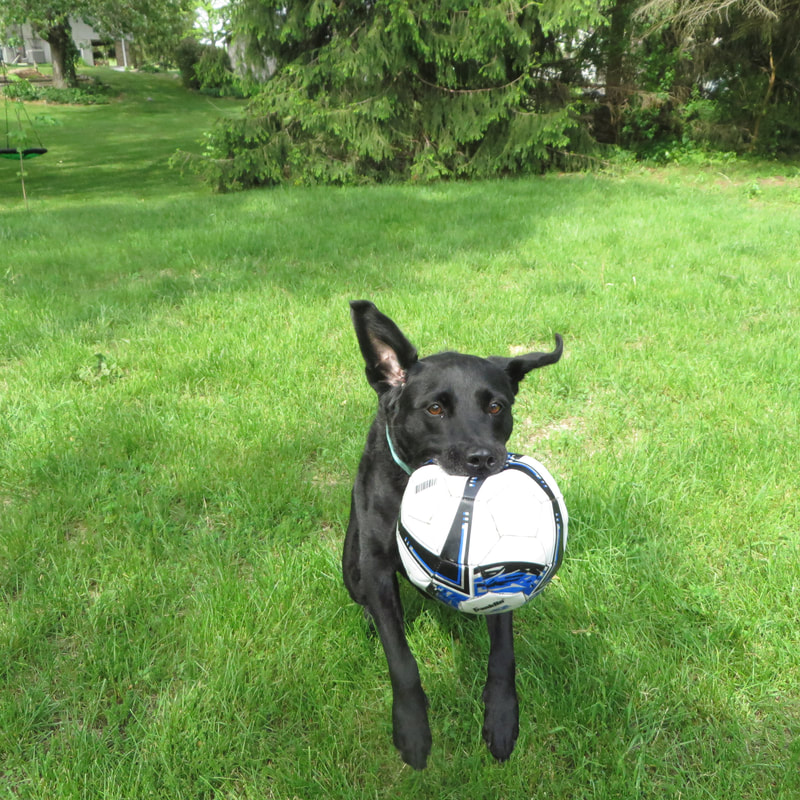
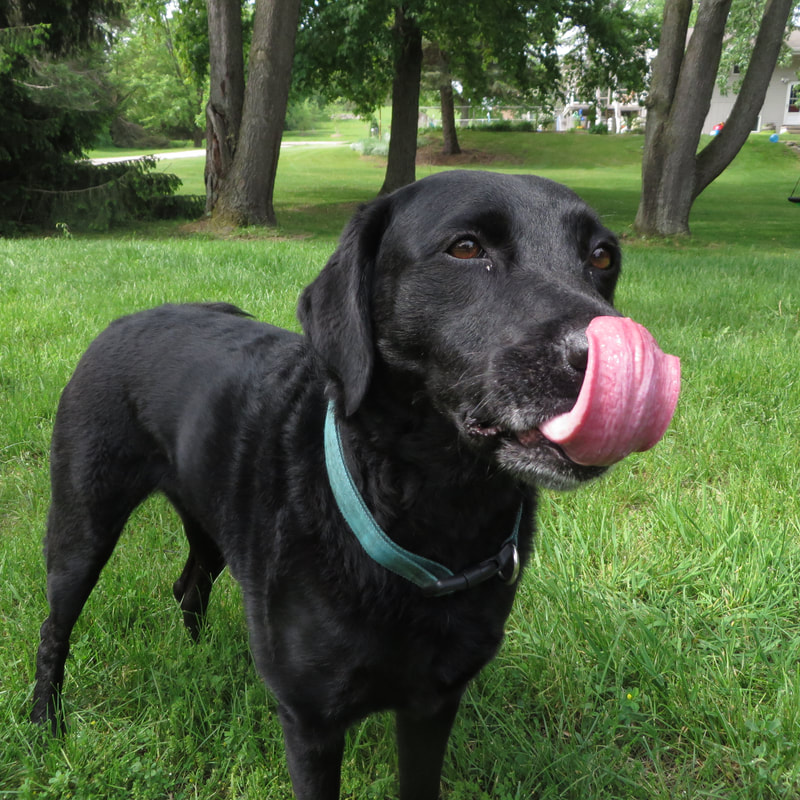
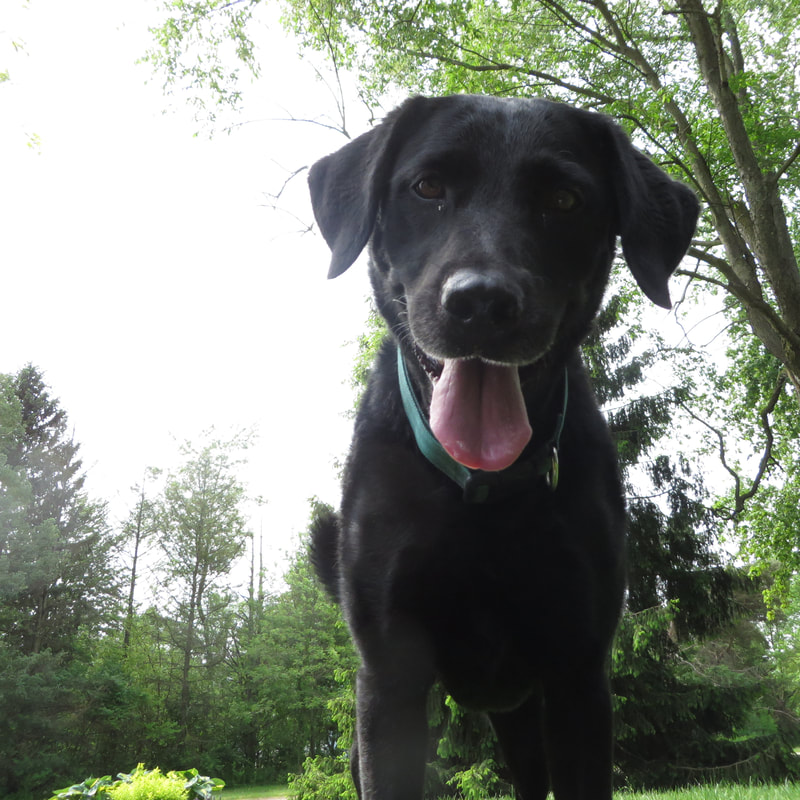
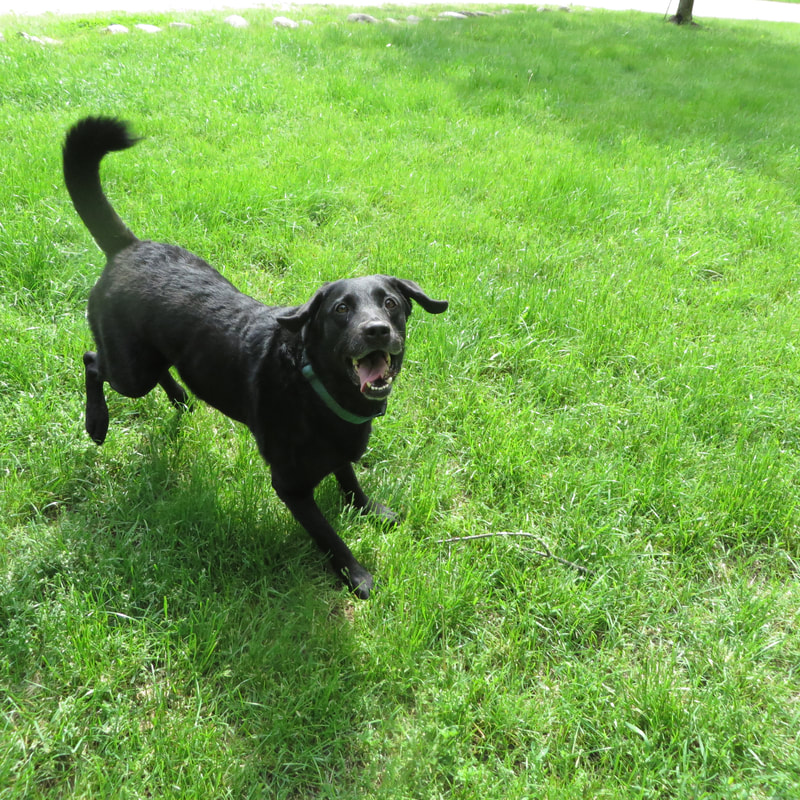
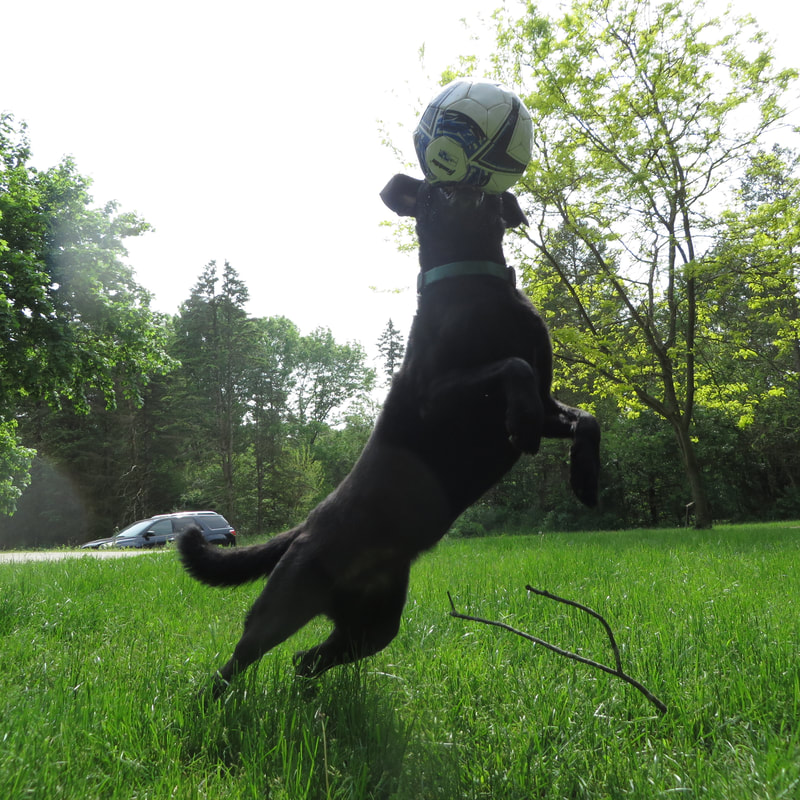
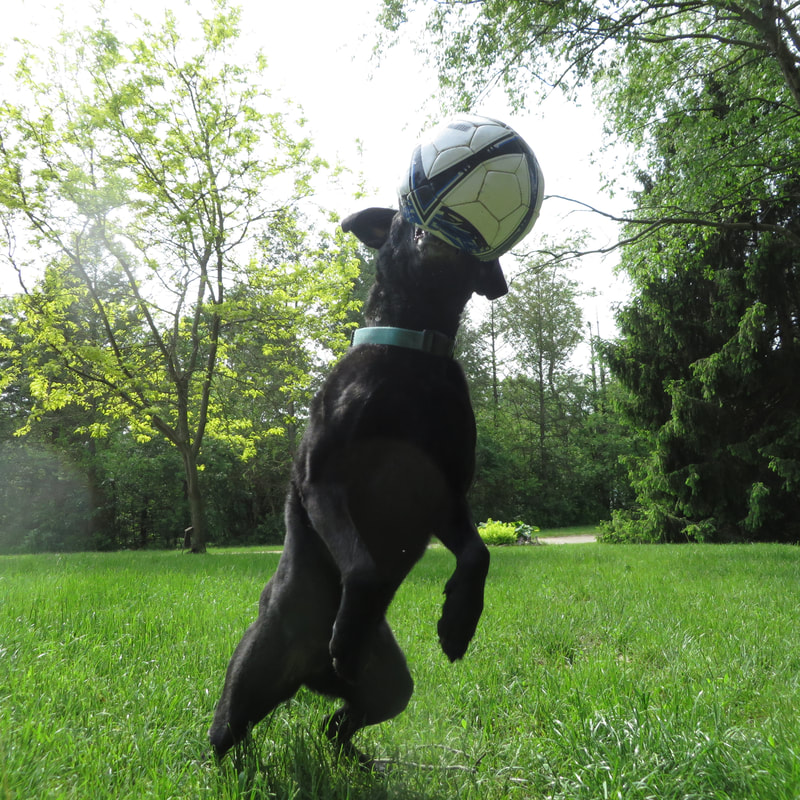
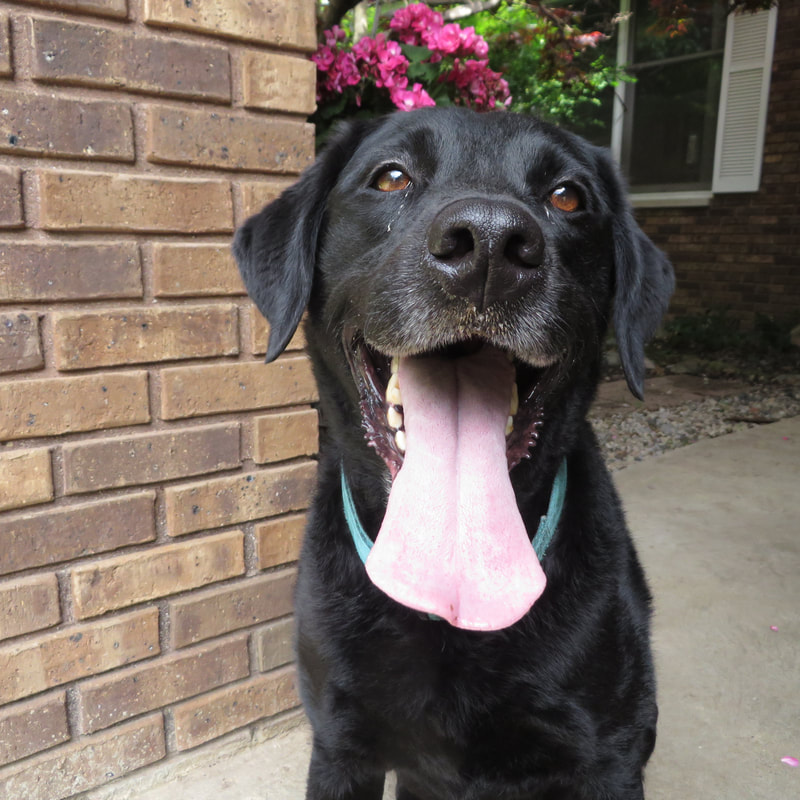
Although I did not get photos directly of the graduation because of my vantage point, I took photos of the orchestra/crowd as that was what was available to me of the event. I dealt with some problems of getting clear shots of people in the crowd being properly exposed because of the bright light; however I just had to alter the shutter-speed and aperture. I learned that for shooting an event next time, I should focus more on people's interactions instead of just singular people to really get context of an event. 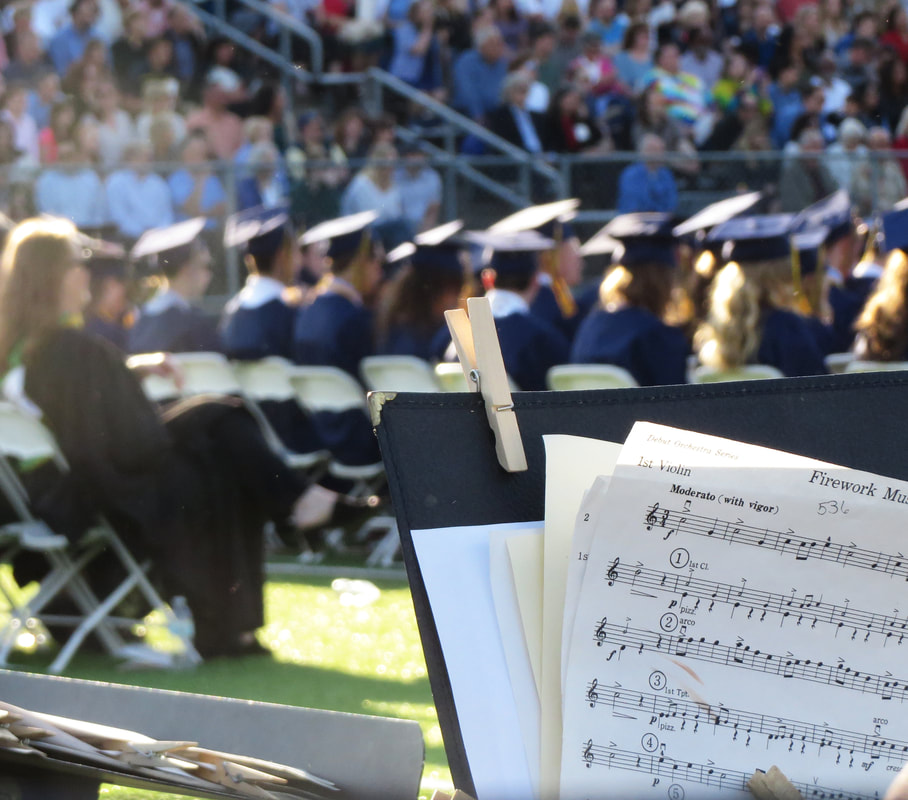 Best Photo is above. Camera Settings: Shutter Speed: 1/400 Aperture: 6.3 ISO 400 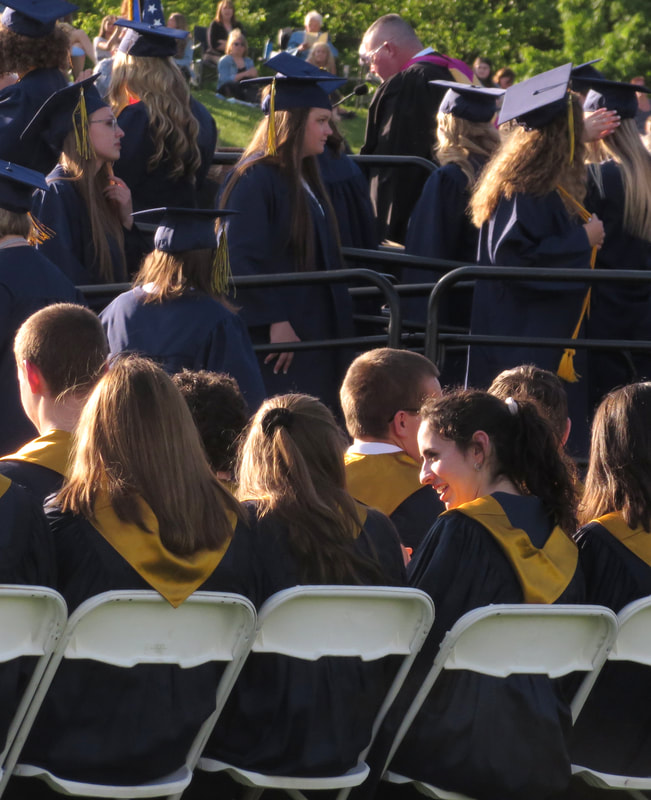 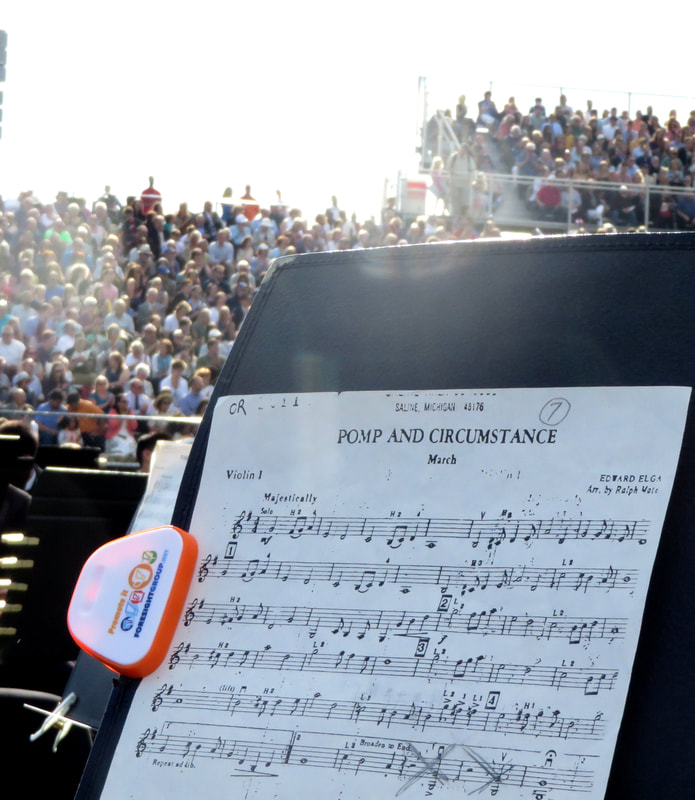 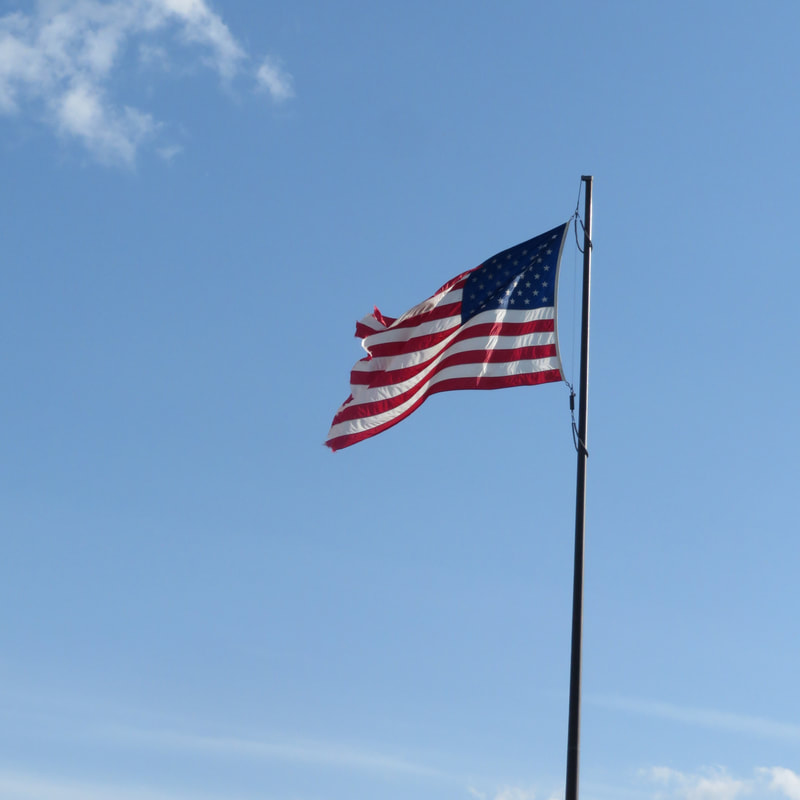 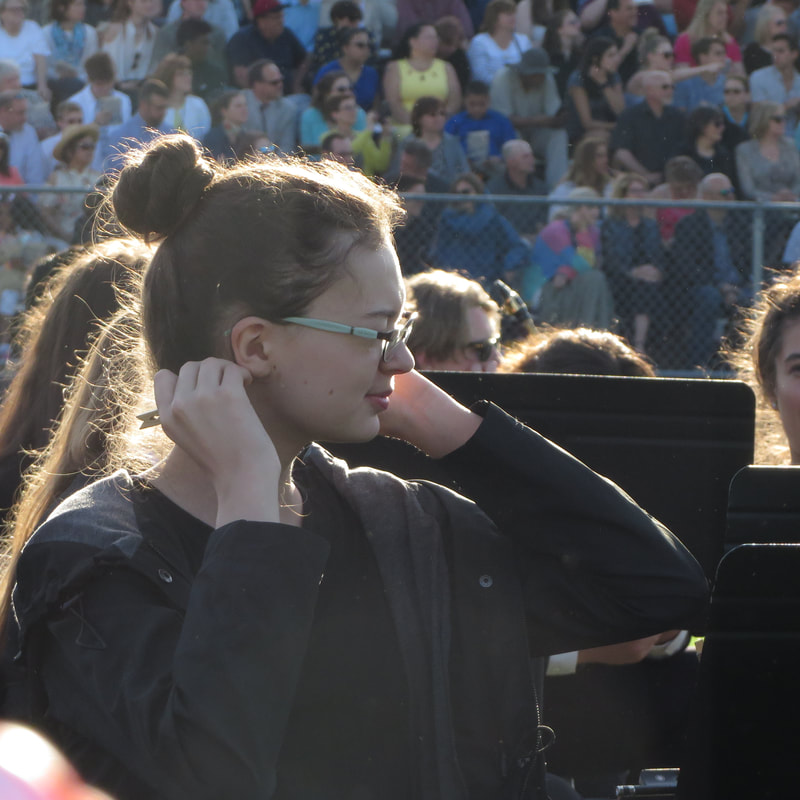 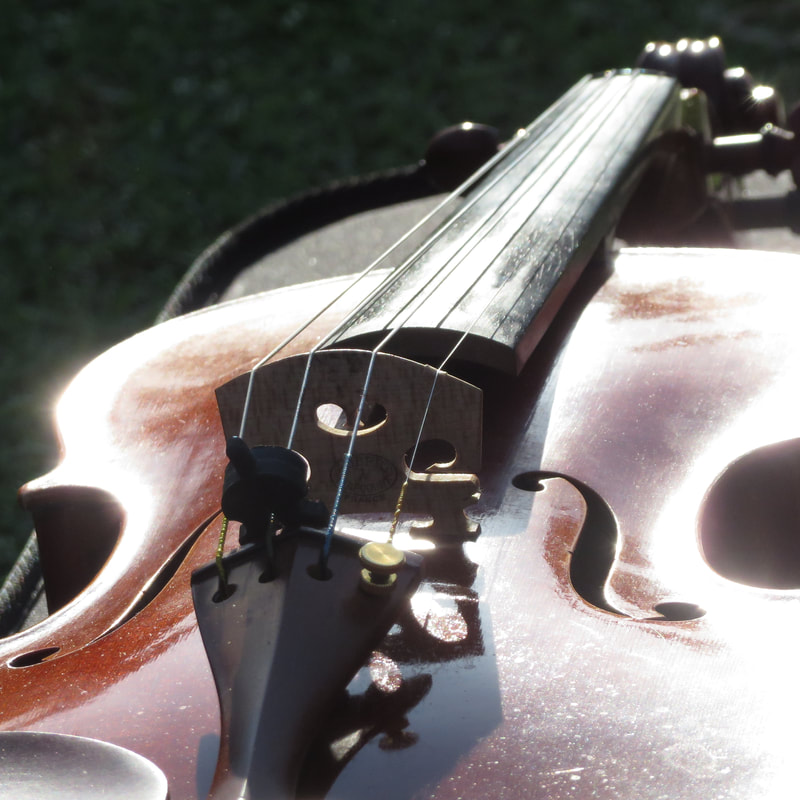 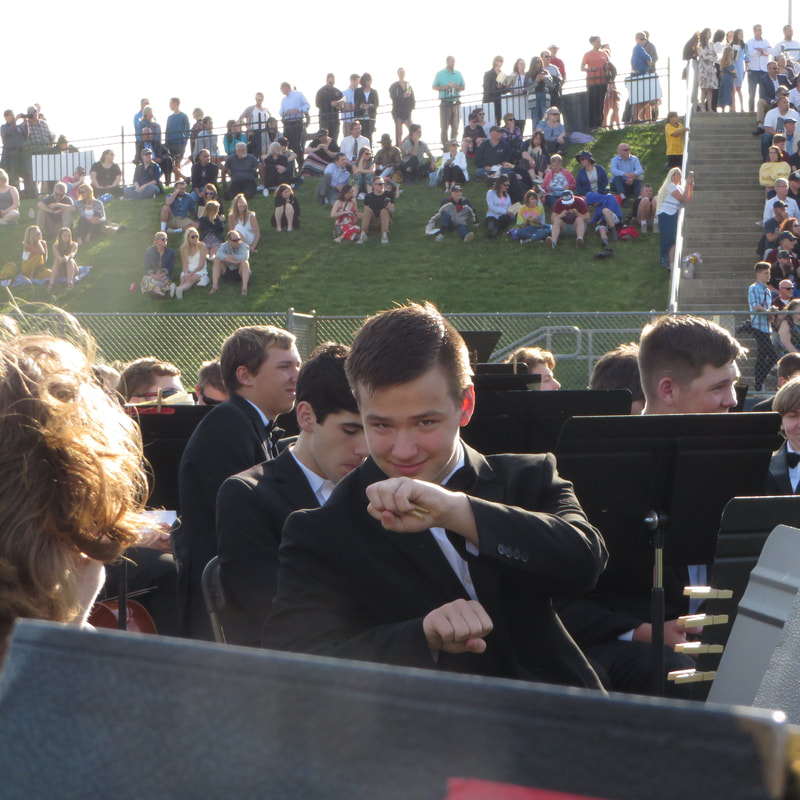 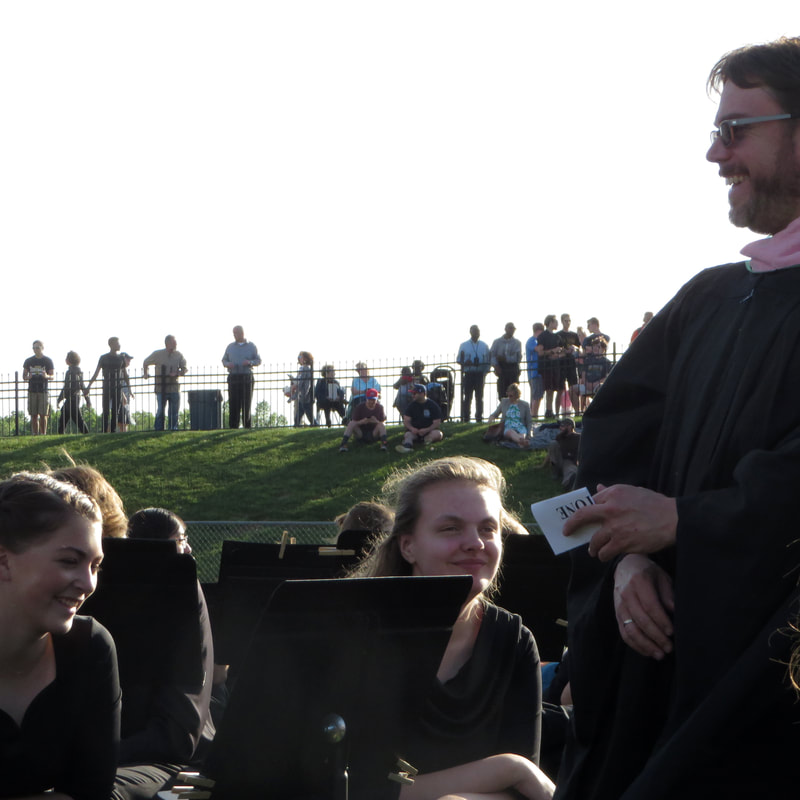 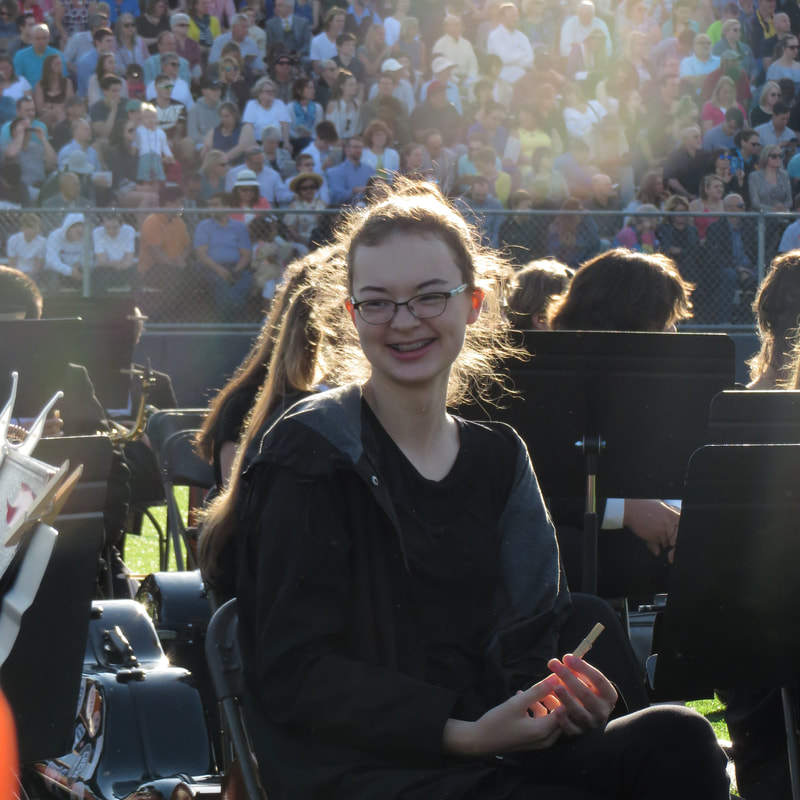 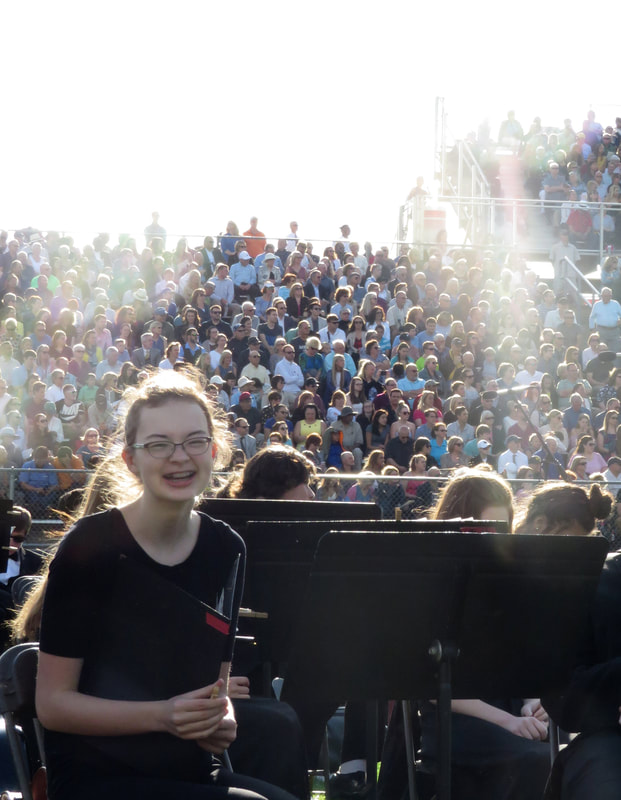 For this weekly shoot, I took photos of my dog. I experimented with different shutter speeds and apertures to get the most clear and well lit shot. Because she was moving so much, it took a few tries to find the right settings, but I was able to capture her in movement and catching her favorite ball.
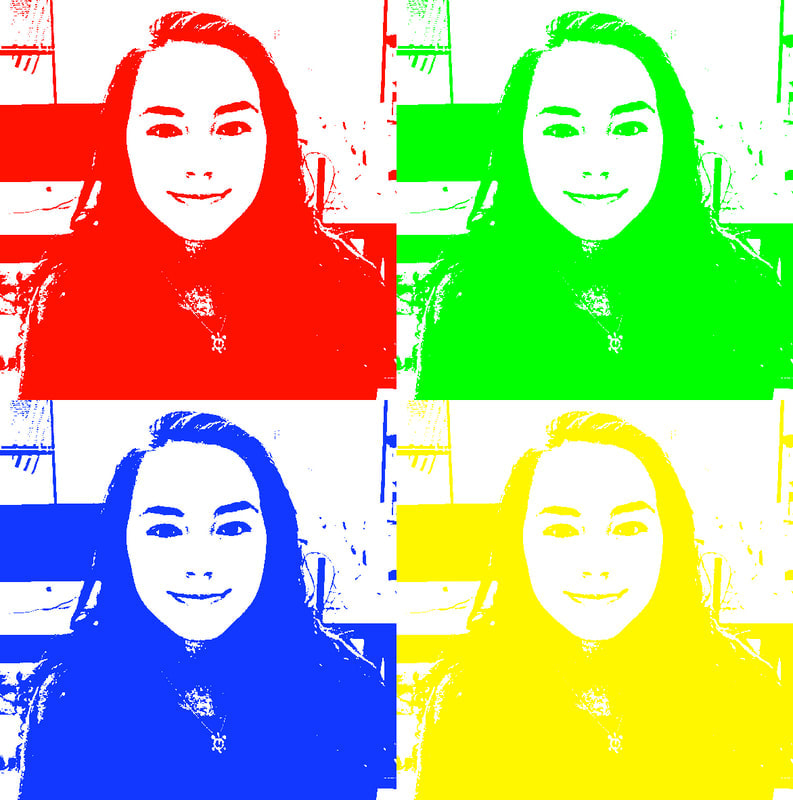
         Given free reign to the whole youTube landscape of photoshop tutorials, I learned how to create a soft light effect using RBG layers and masks, a double exposure image, and using a given image make it looked like a person looking through a ripped paper, similar to the double exposure. Likewise I played around with layering images and filters along with different levels, hues, saturations, and more. 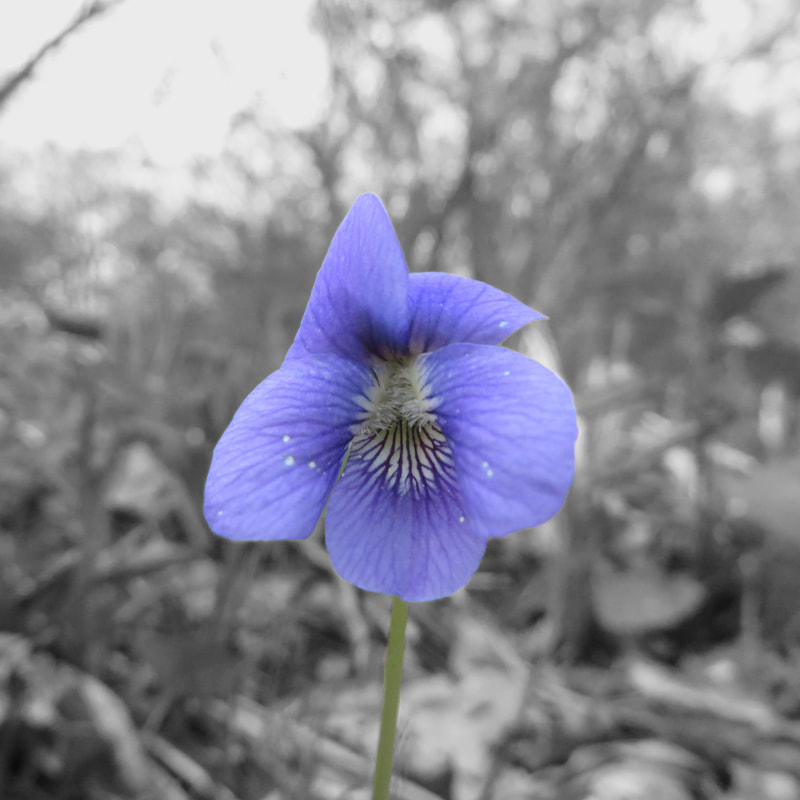 A dash of color  Soft Light effect; Ignore the "before" in the left corner, I simply screen-shotted the original photo to edit along with the tutorial 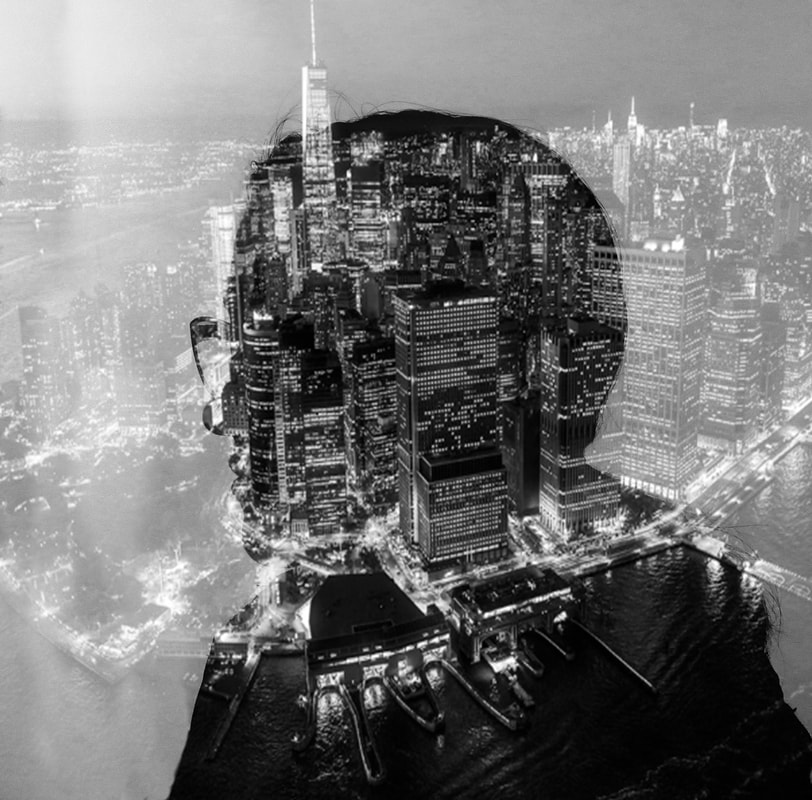 Double Exposure; I took some creative liberty to make it more like a silhouette. 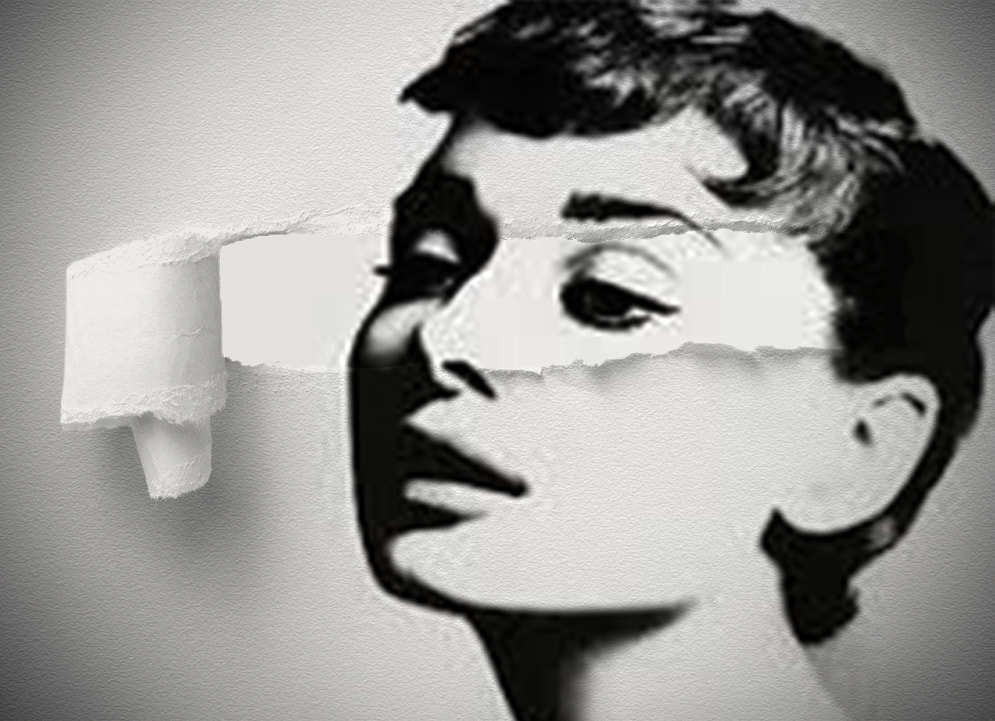 Torn paper effect 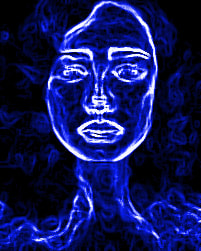 Filters, hue, saturation, and sharpening experimentation |